How to Print Scannable QR Codes on Coffee Cups and Paper Bags
A QR code on foodservice packaging succeeds when the printed result preserves four things: a light, uncluttered background; dark, sharply defined modules; an intact quiet zone; and a location that is not broken by a fold, seam, or excessive curve. For a small café, regional chain, or caterer working with two brand colours, the practical path is to approve the code as a production element—not simply as artwork—and test it on the final cup or bag before committing to the run.
2026-08-20 - 6 min read
Summary
A QR code on foodservice packaging succeeds when the printed result preserves four things: a light, uncluttered background; dark, sharply defined modules; an intact quiet zone; and a location that is not broken by a fold, seam, or excessive curve. For a small café, regional chain, or caterer working with two brand colours, the practical path is to approve the code as a production element—not simply as artwork—and test it on the final cup or bag before committing to the run.
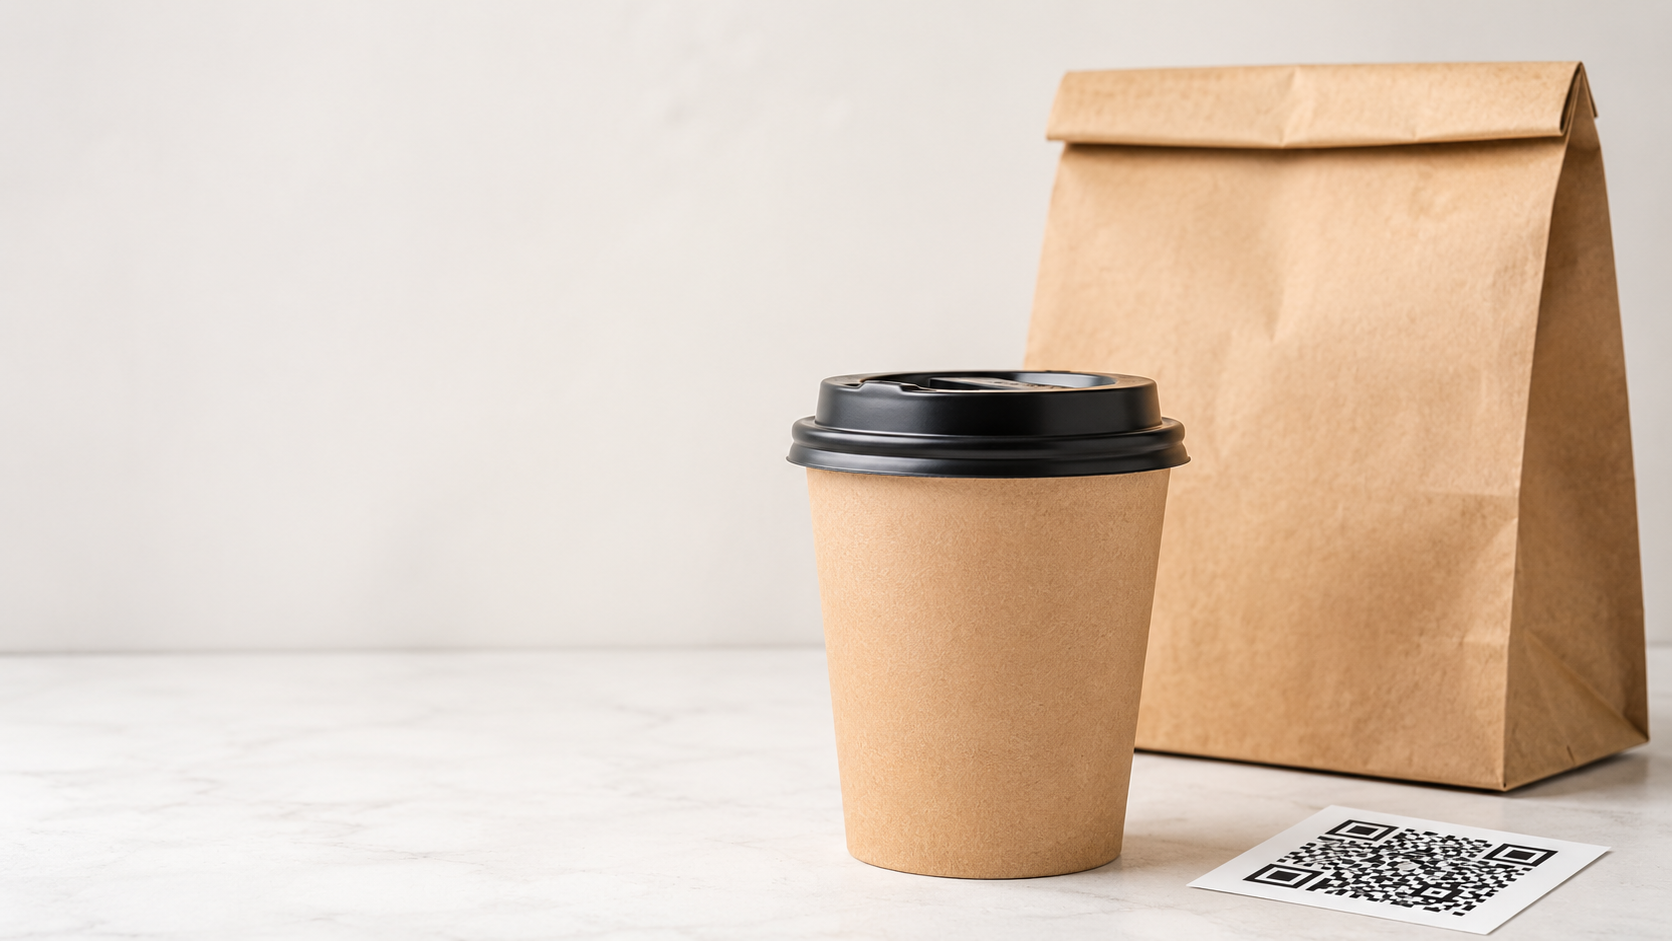
QR codes can connect a takeaway pack to a menu, loyalty page, ordering link, event detail, or product information. On packaging, however, the code is exposed to material texture, ink spread, glare, creases, handling, and curved surfaces. A code that looks acceptable in a digital mock-up can fail after the cup is formed or the bag is folded.
Start with the intended customer action. A short destination usually produces a simpler code than a long URL, which gives the printer more room to keep the modules clear. Use a production-ready SVG where possible, or a high-resolution raster file when the print workflow requires it. Keep the original generated code separate from the artwork file so it is not accidentally redrawn, stretched, screened, or softened during layout.
Use contrast and a real quiet zone
The most reliable visual relationship is dark modules on a light, solid background. A brand with only two primary colours can often use the darker colour for the code and the lighter colour for the surrounding field, but this must be judged on the actual substrate. If the lighter brand colour or kraft stock does not create a clean enough field, reserve a light knockout or underprint behind the code rather than placing it directly over a busy graphic.
Leave a clear border around every side of the code. This quiet zone should be at least four modules wide and must not be interrupted by copy, borders, patterns, cup seams, folds, or a change of background colour. Avoid reversing the usual dark-on-light relationship, metallic or reflective inks, low-contrast colour pairs, and glossy finishes that can introduce glare under restaurant or daylight conditions.
Choose the flattest printable area
Paper bags are usually the easier format. Place the code on the broad, uninterrupted front or back panel, away from gussets, handle attachments, top folds, bottom folds, seams, and areas likely to crease in transit. A square-bottom bag with a clean main face gives the production team a more forgiving location than a narrow side panel.
Cups need more restraint because the wall is curved. Keep the code on the broadest practical sidewall area, away from the rim, base, seam, lid overlap, and the usual hand-grip zone. Do not wrap a code around the cup. Instead, keep the code modest relative to the circumference and give it extra room around the edges. If the cup geometry is too restrictive, consider a sleeve, a separate flat label, or a hang tag—but still test the assembled item, not only the flat dieline.
Set up files for the production method
For short runs, digital printing can be useful when the printer needs variable destinations or frequent artwork changes. Offset or other high-resolution methods can also preserve crisp module edges when the approved file, plate, ink density, and substrate are controlled. Flexographic printing can be effective for volume work, but the supplier needs to account for ink spread and maintain solid, clean module edges. The method alone does not guarantee a scan; file preparation and press control remain essential.
Ask the printer to keep the code as solid fills rather than a screened effect, preserve its proportions, and avoid adding a glossy varnish over the scan area. Matte or uncoated surfaces can reduce glare, while heavily textured paper and strong coatings may require a larger code and more cautious proofing. Do not allow a decorative pattern, image, or colour transition to sit behind the modules or in the quiet zone.
Size for the way customers will scan
Size is a viewing-distance decision. A small code may work for close-up handling; a code intended to be scanned at arm’s length needs more physical space. Rather than assuming a universal size, agree the intended scan distance, the packaging format, and the final printed area with the printer. Then create a proof at that size on the actual stock.
Resolution matters as much as size. Use a high-resolution output for raster workflows and keep the code sharp enough that individual squares remain distinct after printing. Do not use a compressed screenshot, a low-resolution social-media image, or a file enlarged beyond its original detail. A nominal 300 DPI workflow is a useful production baseline for printed raster artwork, while vector artwork avoids resolution scaling issues when the print process supports it.
Approve a physical proof before the production run
A digital proof checks layout; it does not prove scan performance. Request a physical proof on the selected cup or bag material, using the intended ink and finish. For cups, inspect the formed cup. For bags, inspect a filled and folded sample as well as the flat face. Scan the result with several phones, in the light conditions customers are likely to encounter, and after normal handling.
- Confirm that the destination opens correctly and remains appropriate for the campaign.
- Check that the code, quiet zone, and background remain clear at the final print size.
- Inspect for ink spread, weak density, glare, wrinkles, fold damage, seam interference, and distortion.
- Keep the approved code file, dieline, colour specification, print method, proof photos, and written approval together.
Turn the brief into a supplier-ready request
Give the supplier a concise brief: product type, material, size or capacity, estimated quantity, intended print area, artwork files, brand colours, QR destination, desired finish, and destination market. Ask which printable areas are available on the selected structure, whether a light background treatment is needed, how the code will be reproduced, and what proof can be scanned before production.
TakeawayPack can organise an RFQ around the product category, material, size or capacity, expected quantity, customisation needs, and destination. During a sourcing discussion, it can also align on structure, coating, capacity, lid matching, carton packing, samples, drawings, and print files. For custom printing, TakeawayPack prepares a digital proof from customer files and proceeds only after written confirmation. These steps support a controlled supplier conversation; they do not by themselves establish a particular product’s scan performance, food-contact suitability, certification, or market compliance.
Final checklist
The most dependable QR-ready pack is not the one with the most decorative treatment. It is the one with a simple light field, dark clean modules, a protected quiet zone, a stable printable area, and a proof that has been scanned on the finished packaging. When you are ready to review a cup, bag, or print brief, visit TakeawayPack with the product details and artwork requirements.