Phasing In Branded Takeout Packaging: How to Roll Out a New Logo Without Scrapping the Stock You Already Own
You do not have to throw away a pallet of plain containers to launch a new look. The cheapest, lowest-risk path is to brand the small, fast-turning items first — seals, paper bags, cup sleeves — while your generic stock burns down on its own, and only then move printed containers in one format at a…
2026-09-07 - 11 min read
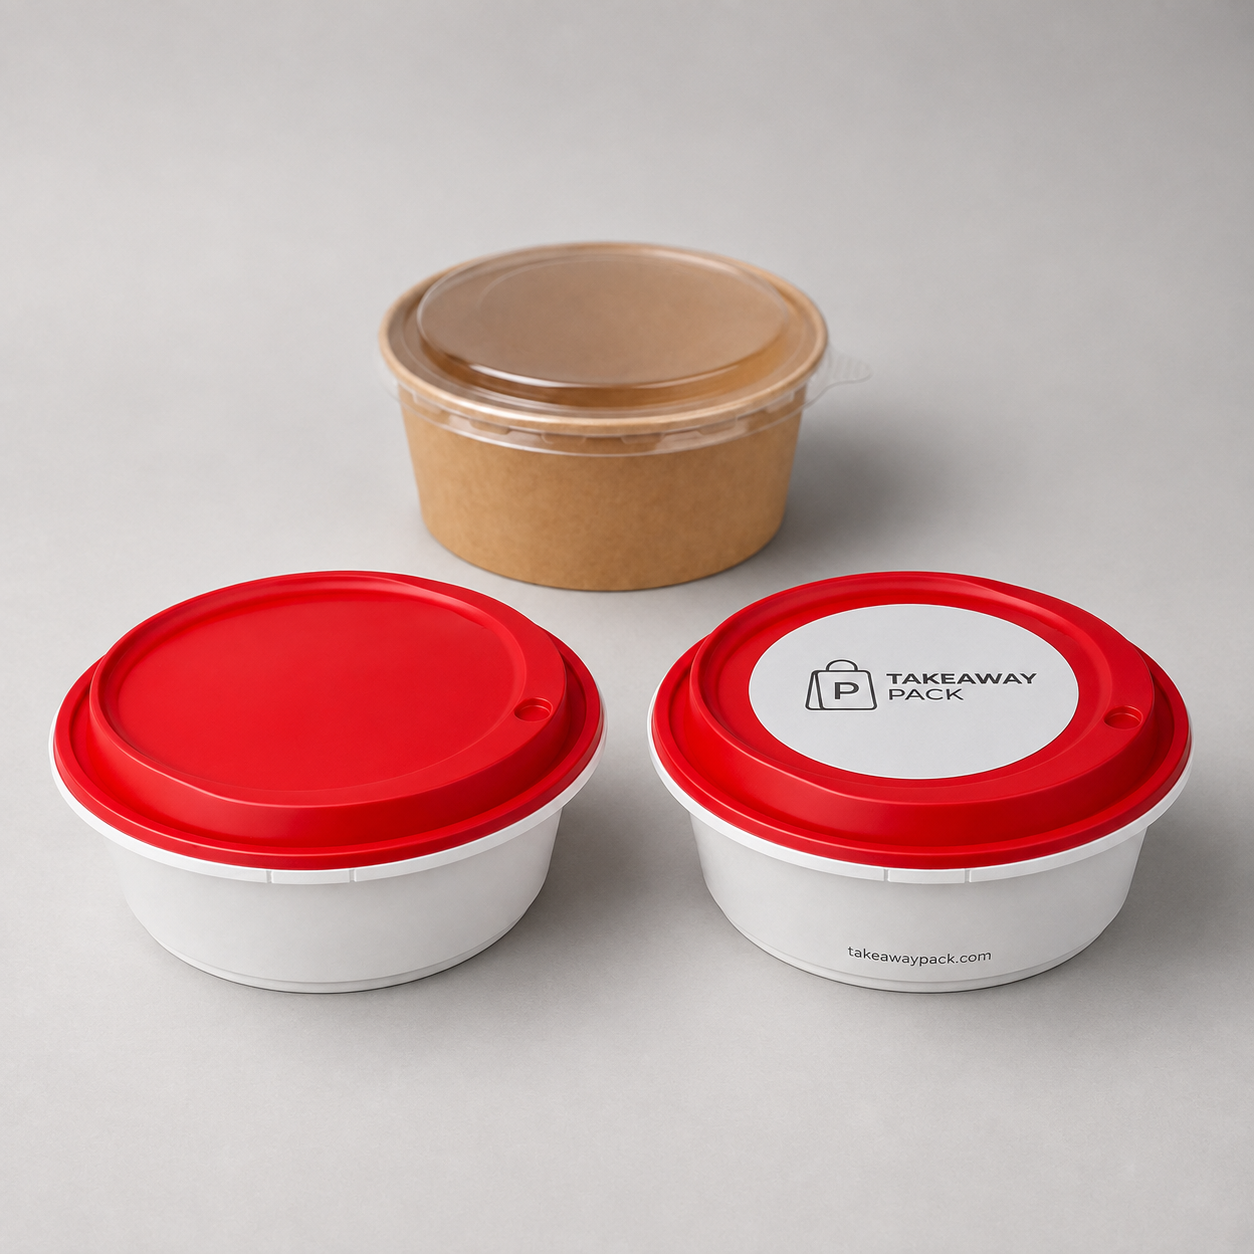
You do not have to throw away a pallet of plain containers to launch a new look. The cheapest, lowest-risk path is to brand the small, fast-turning items first — seals, paper bags, cup sleeves — while your generic stock burns down on its own, and only then move printed containers in one format at a time.
This guide lays out the sequence, the math for timing each order, and the questions to settle with your supplier before the first print run.
Summary
- A phased rollout lets you show the new brand within weeks while unbranded stock is consumed at its normal rate, so nothing gets written off.
- Seals, stickers, and custom-print paper bags are the highest-visibility, lowest-commitment items to brand first, because they are cheap per unit and turn over fast.
- Cup sleeves and bag closures extend the new identity to beverage and pickup orders without touching container inventory at all.
- Printed containers should come last, sequenced by volume rank, so your highest-use format gets branded first and your low-volume specialty items stay generic longer.
- Build a burn-down schedule from weekly usage counts, then place each printed order so it lands as the old stock hits roughly two to three weeks of cover.
- Low minimum order quantities — as low as 500 to 1,000 units on custom printing at suppliers such as takeawaypack.com — are what make a staged rollout affordable instead of a bulk gamble.
- Lock your artwork files, color values, and print position once, at the start, so every phase matches the phase before it.
Why Phasing Beats a Single Changeover Day
A single switchover date sounds clean and almost never is. It requires you to order every branded format at once, at the moment your brand assets are newest and least tested, and it strands whatever generic stock is still on the shelf.
Phasing inverts that risk. You spend small amounts on items that reach the customer immediately, learn how the artwork actually reproduces at production size, and let the expensive inventory — containers, bowls, trays — deplete on its normal schedule.
There is a second, quieter benefit. Customers read consistency, not completeness. A guest who receives a branded bag with a branded seal and a branded cup sleeve registers a rebranded restaurant, even when the bowl inside is still plain. The reverse is not true: a printed bowl hidden inside a blank bag communicates almost nothing at the doorstep.
So the ordering principle is simple. Brand outward-in. Start with what the customer sees before the bag is opened, and work inward as inventory allows.
Phase One: Seals, Stickers, and Bag Closures
Seals and stickers are the single best first move in a packaging rebrand, and it is worth being precise about why.
They are the cheapest custom-printed item per unit. They apply to packaging you already own, so they require zero changes to your container inventory. They sit on the outside of the order where the customer sees them first. And because they turn over quickly, a mistake in the first run costs you weeks, not quarters.
Practically, a branded seal does three jobs at once:
- Brand mark. Your logo lands on every order the same day the stickers arrive.
- Tamper indication. A seal across a lid seam or bag fold shows the order has not been opened in transit — a real concern for third-party delivery.
- Operational label. The same sticker can carry an order-type marker, a "contains sauce" note, or a QR code.
If you want a single low-cost tactic to run for the whole transition, this is it. Seals cover generic containers in phase one and continue to work alongside printed containers later, so nothing you buy here becomes redundant.
Phase Two: Custom-Print Paper Bags and Cup Sleeves
Once the seal is live, the next two items expand the brand's footprint without touching container stock.
Custom-print paper bags are the largest printable surface in a takeout order and the one the customer holds. A bag is also naturally forgiving artwork-wise: you have room for a logo at legible scale, and a single-color print on kraft usually reads better than a busy multi-color design.
Cup sleeves extend the same identity to beverages, which matters disproportionately for cafes and any operation where drinks leave the building separately from food. Sleeves also brand cups you may not want to reprint yet, which is exactly the logic of the whole phased approach.
Add single and double cup carriers to this phase if drink orders travel by courier. Carriers keep cups upright, and a branded carrier is visible for the entire ride.
Two practical notes. First, keep phase-two artwork identical to the sticker artwork — same logo file, same color values, same proportions. Second, order bags in the size you actually use most, not the largest size you occasionally need. Bag inventory ties up shelf space quickly.
Phase Three: Printed Containers, Ranked by Volume
Containers are the expensive part of a rebrand and should be sequenced deliberately.
Pull your last three months of usage and rank every container format by units consumed. Then brand from the top of that list downward. Your highest-volume format — often a lock-lid PP bowl, a kraft soup tub, or a compartment tray, depending on the menu — earns its print run fastest and appears in the most customer hands per dollar spent.
A workable ranking looks something like this for a typical delivery-led kitchen:
- Primary entree container (lock-lid PP bowls, commonly 750–2000 ml, or a compartment tray for combo plates). Highest volume, brand first.
- Soup or liquid format (kraft soup tubs with PP lids). Second, if soups are a menu staple.
- Display formats (window boxes, clear PET containers, sushi trays). Third — these already merchandise the food, so the print adds identity rather than function.
- Bakery and dessert formats (cake boxes, molded pulp or clamshell boxes, pizza boxes). Fourth, unless dessert is a signature line.
- Specialty and low-volume items (sauce cups, tamper-evident bowls for specific SKUs). Last, or leave generic indefinitely.
Items at the bottom of the list may never justify a print run. That is a legitimate outcome, not a gap. A branded seal on a plain sauce cup is often the right permanent answer.
Build the Burn-Down Schedule Before You Order
This is the part most operators skip, and it is the reason rebrands either strand inventory or create stockouts.
For each format you intend to brand, write down four numbers:
- On-hand units. Count it, do not estimate from memory.
- Weekly usage. Average of the last four to eight weeks, adjusted if you are seasonal.
- Weeks of cover. On-hand divided by weekly usage.
- Supplier lead time for printed goods. Ask for this in writing, including artwork approval and proofing, not just production.
Then the order date for each printed format is straightforward:
Order when weeks of cover equals lead time plus two to three weeks of safety stock.
A worked example. You hold 4,000 plain entree bowls and use 500 a week — eight weeks of cover. Printed lead time from artwork sign-off is four weeks. Add three weeks of safety buffer, and you place the printed order when cover drops to seven weeks. That is one week from now, and the printed stock arrives with about three weeks of generic bowls left as overlap.
That overlap is deliberate. It absorbs a delivery delay, gives staff a transition window, and means you never run out of the format that carries your busiest menu item.
Do the same calculation for each format and you get a natural, staggered order calendar rather than one large simultaneous purchase.
A Realistic Timeline You Can Actually Staff
Here is how the phases typically distribute across a quarter for a small-to-medium operation:
Weeks 1–2 — Lock the assets. Finalize the logo in vector format, fix your color values, and decide print position for each item. Order seals and stickers. Request samples of any container format you plan to print later so you can test artwork at true size.
Weeks 3–4 — Seals go live. Apply branded seals to existing generic containers and bags. This is the day your customers see the new brand. Meanwhile, place the custom-print paper bag and cup sleeve order.
Weeks 5–8 — Bags and sleeves arrive. Now the entire exterior of every order is branded. Run this configuration long enough to gather staff feedback on application speed and any legibility problems.
Weeks 6–10 — First printed container order. Timed off the burn-down math for your number-one volume format, so it lands as generic stock runs low.
Weeks 10–16 — Second and third container formats. Same method, staggered. Do not order these together unless their burn-down dates genuinely coincide.
Ongoing — Reassess the tail. Decide which low-volume formats stay generic-plus-sticker permanently.
Two staffing notes. Applying seals adds a step to packing, so time it during a slow shift before rolling it into peak service. And keep a one-page visual on the pack line showing where each sticker goes — inconsistent placement undoes the consistency you are paying for.
What to Settle With Your Supplier Before the First Print Run
A phased rollout depends on the supplier being able to handle small, repeated orders rather than one large one. Confirm these points up front:
- Minimum order quantity per item, not per order. This is the number that decides whether phasing is affordable. Custom printing with MOQs as low as 500 to 1,000 units — the range available at takeawaypack.com — is what allows you to brand one format at a time instead of committing to all of them at once.
- Lead time from artwork approval to delivery, broken into proofing and production. You need both numbers to run the burn-down math.
- Artwork file requirements. Vector logo formats and specified color values. Supply one master file set and reuse it for every phase so phase four matches phase one.
- Print position and repeat orders. Ask whether they retain your artwork and print position on file, so a reorder in month five looks identical to the first run.
- Food-contact suitability of inks and materials for the specific format, especially anything holding hot, oily, or acidic food.
- Certification, scoped to the SKU. Select lines — certain kraft and molded-pulp formats in particular — are available with compostable or recyclable certification. Do not assume it applies catalog-wide. Request the certificate for the exact item on your quote, and only make the environmental claim your documentation actually supports.
- Stock availability of the generic equivalent. If a printed order slips, you want the ability to buy plain stock of the same format as a bridge.
How Takeawaypack Supports a Staged Changeover
Takeawaypack supplies custom disposable food packaging to restaurants, food trucks, cafes, ghost kitchens, bakeries, and caterers across the US, with a catalog spanning more than 950 items.
For a phased brand rollout, three things matter:
- The low-commitment items are all available printed. Stickers, seals, custom-print paper bags, and cup carriers cover phases one and two without touching your container stock.
- The container range is broad enough to keep formats consistent. Lock-lid PP bowls from 750 to 2000 ml, kraft soup tubs with PP lids, compartment trays, tamper-evident bowls, window boxes, clear PET containers, molded pulp and clamshell boxes, sushi trays, cake boxes, pizza boxes, and sauce cups — so you can brand one format now and match it later without changing product line.
- Custom printing starts at MOQs as low as 500 to 1,000 units, which is the mechanism that makes a staggered, format-by-format rollout practical for a single location or a small group.
Talk through your usage numbers and lead-time needs before ordering — the burn-down schedule works far better when the supplier knows the sequence you are planning.
Frequently Asked Questions
Can I really use generic containers with branded seals without looking half-finished?
Yes, and it is a common permanent configuration for low-volume formats. Consistency at the exterior of the order does the branding work. A neatly applied branded seal reads as intentional; a mismatched printed container in a blank bag does not.
What if I redesign the logo again in six months?
That is precisely the argument for phasing. Your exposure at any moment is one small print run of a fast-moving item, not a warehouse of printed containers. Keep the highest-cost formats latest in the sequence until the identity is settled.
How much overlap stock should I plan between generic and printed?
Two to three weeks of usage is a reasonable buffer for most operations. Shorter than that and a delivery delay becomes a stockout; much longer and you are holding two versions of the same item for no benefit.
Should I brand cups or cup sleeves first?
Sleeves. They brand cups you already own, cost less per unit, and let you defer the decision on printed cups until volumes justify it.
Do I need different artwork for each item?
You need one master artwork set and per-item adaptations for size and print area. Design at the smallest format first — usually the sticker — because artwork that reads clearly at sticker scale will scale up to a bag, while the reverse frequently fails.
Start With the Cheap Item, Not the Expensive One
A packaging rebrand does not have to be a write-off event. Branded seals and stickers put your new identity in customers' hands within weeks. Custom-print paper bags and cup sleeves extend it across the whole exterior of the order. Printed containers follow as your generic stock burns down, ranked by volume so the money goes where the units are.
Build the burn-down numbers first, confirm MOQs and lead times second, and place orders in sequence rather than all at once.
To map your own phase schedule against real MOQs, lead times, and format options, browse the range at takeawaypack.com or send your usage numbers to the team at takeawaypack.com/contact — info@takeawaypack.com, +1 636-298-3606.