Food Delivery Packaging Acceptance Checklist for Restaurant Teams
A delivery package should be accepted as a working system, not as an empty container sample. Map each menu item to a specific container, lid, secondary bag, label, and packing sequence. Then run realistic route tests with the actual food, normal fill level, expected hold time, stacking pattern, and delivery bag. This checklist helps restaurant and delivery teams compare options such as adhesive seals, handle-seal sleeves, shrink bands, and integrated locking containers without assuming that one closure suits every order.
2026-08-16 - 7 min read
Summary
A delivery package should be accepted as a working system, not as an empty container sample. Map each menu item to a specific container, lid, secondary bag, label, and packing sequence. Then run realistic route tests with the actual food, normal fill level, expected hold time, stacking pattern, and delivery bag. This checklist helps restaurant and delivery teams compare options such as adhesive seals, handle-seal sleeves, shrink bands, and integrated locking containers without assuming that one closure suits every order.
Start With a Menu-to-Package Map
Create one line for every delivery menu item or menu family. The map is the baseline for purchasing, line training, and test records.
For each line, record:
- menu item and portion size;
- food condition at packing, such as hot, chilled, crisp, saucy, or liquid-heavy;
- proposed container and matching lid;
- expected fill level and required headspace;
- separate components, including sauces, toppings, beverages, and cutlery;
- secondary bag or divider arrangement;
- closure method and label placement; and
- the route scenario used for evaluation.
Avoid approving a container only because it looks stable when empty. A format that appears rigid on a prep table can behave differently after hot filling, when sauce reaches the rim, or when several orders are stacked in a courier bag.
Check the Container-and-Lid Closure Before It Leaves the Line
The primary closure is the interface between the food and the delivery journey. Confirm that the team is using the intended lid with the intended container rather than substituting a visually similar part.
Closure inspection at pack-out
Before adding a bag seal, ask the packer to check:
- Is the rim clean enough for the lid to seat as intended?
- Is the lid pressed or locked around the full perimeter?
- Are corners, tabs, threads, or locking points visibly engaged where applicable?
- Is the package filled below the level that could force food into the closure during movement?
- Does the package remain closed when it is gently tilted in the directions likely during handoff?
- Are sauce cups and beverage lids closed independently?
For liquid-heavy dishes, examine the rim and closure area after the actual product is packed. For fried or crisp foods, review whether the chosen format manages the product’s moisture and presentation during the expected delivery period. These are menu-specific questions, not universal material rules.
Select a Tamper-Evident Method That Fits the Workflow
Tamper-evident packaging is intended to show visible signs if a package has been opened or disturbed; it is not the same as a guarantee that a package cannot be opened. The operating question is whether the chosen method can be applied consistently, noticed easily, and opened by the customer without creating unnecessary frustration.
Adhesive seals
An adhesive seal can bridge the lid and container, close a folded bag, or secure a separate sauce bag. Check the adhesion surface, label position, application pressure, and whether the seal is visibly disrupted when opened. Keep the seal away from areas that block a customer’s first opening point or cover important order information.
Handle-seal sleeves or bag seals
A seal around bag handles can provide a clear handoff point after all items are packed. Verify that the bag is not overloaded, that handles are aligned before sealing, and that the seal does not tear the bag during normal carrying. This method does not replace a properly closed food container inside the bag.
Shrink bands
Shrink bands may be evaluated when a team can apply them safely and consistently around the relevant package component. Test how the band fits the actual lid and container geometry, how it appears after heating or handling, and how a customer removes it. Include the added packing step in the line-speed assessment.
Integrated locking or breakable-tab containers
A container with an integrated locking feature can reduce the number of separate components a packer handles. Inspect the exact configuration for full engagement, visible opening evidence, ease of opening, and compatibility with the menu item. Do not assume that a locking feature alone resolves leakage, stacking, or route-handling questions.
Seal the Outer Bag and Build a Stable Stack
The outer bag is part of the delivery system. It keeps order components together, gives the courier a defined handoff unit, and can make an interrupted seal easier for the customer to notice.
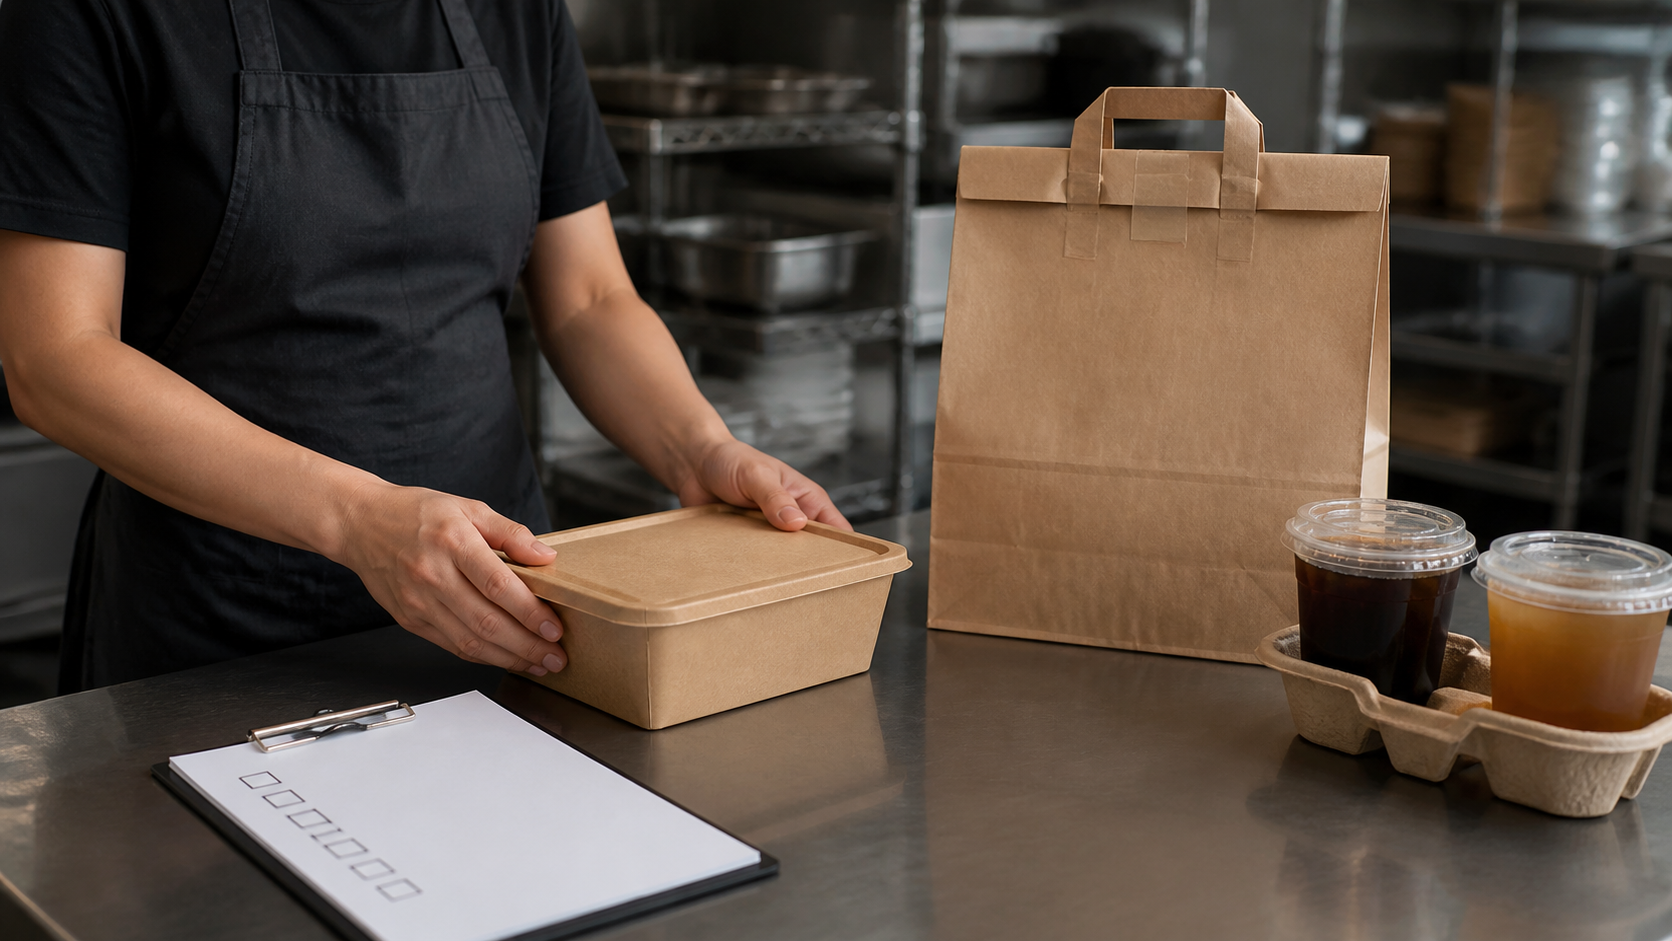
Use a simple pack-out sequence:
- Close and inspect each primary food container.
- Isolate sauces, drinks, or wet components when the menu requires it.
- Put heavier and more stable items at the bottom of the bag.
- Keep fragile, crisp, or light items away from crushing loads.
- Use dividers or separate bags if items can slide, tip, or transfer moisture.
- Apply the bag closure only after the order contents and labels are checked.
Review the stack both on the counter and inside the type of delivery bag used by the team or courier. A stable stack on a flat counter may shift when the bag is carried, set down, or turned during pickup.
Keep Hot and Cold Components Operationally Separate
When an order combines hot and cold components, define how the team will separate them at pack-out and during handoff. The goal is to avoid a hot container sitting directly against a chilled dessert, salad, beverage, or temperature-sensitive side.
The checklist can specify separate bags, separate compartments, or a physical divider, depending on the order and delivery workflow. Confirm that each part of the order remains identifiable after separation and that the courier receives clear handoff instructions. Evaluate the actual menu combination rather than relying on a generic rule for all orders.
Label for Fast, Accurate Handoffs
A useful delivery label helps the kitchen, courier, and customer identify the order without reopening the package. Establish a consistent label location for the container, outer bag, and any separately packed sauce or allergen-sensitive item.
At minimum, review whether the label includes the information your operation needs, such as:
- order identifier or customer name;
- item count or bag count;
- item and component identifiers;
- packing time or handoff reference, if used in your workflow;
- handling cues, such as “keep upright” when appropriate; and
- clear separation markers for items packed in another bag.
Do not place a label where it prevents the closure from seating or makes the package difficult to open. If the operation uses allergen-related information, confirm the wording and process with its own menu and food-safety procedures.
Run a Real Route Test Before Approval
A real route test is more useful than a desk review because it evaluates the complete package with food, closure, bag, stack, and handling sequence together.
Route-test checklist
Use a normal production order or a representative test order. Record the package setup and then simulate or complete a route that reflects the expected journey. Include typical pickup, carrying, vehicle movement, stop-and-go motion, bag placement, and delivery handoff.
At the end of the test, inspect:
- lid engagement, seams, corners, and closure tabs;
- leaks, drips, or sauce migration inside the bag;
- bag seal condition and whether disruption is easy to see;
- container position, crushing, tipping, and stack shift;
- separation of hot and cold components;
- label legibility and order identification;
- food appearance and component separation; and
- customer opening steps, including whether the intended opening point is clear.
Test more than one normal fill level and more than one route condition where the delivery pattern varies. Keep photos, observations, and the exact SKU or configuration together so a future purchasing or menu change does not rely on an old result.
Turn the Checklist Into a Repeatable Approval Process
Assign an owner for menu mapping, a pack-line owner for the closure check, and a reviewer for the route-test record. Revisit the checklist whenever the menu, portion, container, lid, bag, label, delivery territory, or packing workflow changes.
A practical approval record should state what was tested, under which conditions, what happened, and what adjustment is needed. It should not make unsupported claims that a closure is universally superior, suitable for every route, or accepted by a particular platform, inspector, or jurisdiction. Those questions depend on the selected configuration and applicable local requirements.
For a packaging RFQ or a discussion about matching containers, closures, bags, and custom presentation to your delivery workflow, visit TakeawayPack.