How to Prevent Soup Spills During Delivery Rushes: A Container, Lid, and Packing System for Noodles and Stews
Soup noodles, mala tang, curries, and stews put more stress on takeaway packaging than dry meals. The practical answer is not to buy a product based on a broad “leak-proof” label or to add every possible packaging layer to every order. It is to build an order-specific system: choose a container that suits the dish, match it with its intended lid, close and inspect the seal consistently, add secondary containment only where the route or order warrants it, and keep liquid items upright and separated in transit.
2026-08-30 - 11 min read
Summary
Soup noodles, mala tang, curries, and stews put more stress on takeaway packaging than dry meals. The practical answer is not to buy a product based on a broad “leak-proof” label or to add every possible packaging layer to every order. It is to build an order-specific system: choose a container that suits the dish, match it with its intended lid, close and inspect the seal consistently, add secondary containment only where the route or order warrants it, and keep liquid items upright and separated in transit.
This guide gives independent foodservice operators a procurement and kitchen workflow for reducing soup-spill risk during busy delivery periods. It also explains how to test a proposed container-and-lid combination with the actual menu before buying at scale, and how to compare its total operating cost rather than its unit price alone.
Start With the Dish, Not the Packaging Material
A clear broth, an oily mala tang, a thick stew, and a noodle-and-soup set do not behave the same way in a delivery bag. Begin by grouping your menu according to how it travels:
- Broth-heavy bowls that can move quickly when tilted.
- Oily or sauce-rich dishes that may leave visible residue around a closure.
- Thick soups and stews that are less fluid but may be heavy.
- Noodle meals where the solids may become soft if they sit in broth for the full journey.
- Multi-item orders where liquid containers can be pressed or tilted by side dishes and drinks.
For each group, define the normal portion size, the usual hold time before handoff, and the way delivery partners typically carry the order. That information is more useful than assuming one bowl style can handle every liquid dish.
For some noodle dishes, separating broth from noodles, protein, or fresh garnish can be a sensible menu decision. It can help protect texture and reduce the consequence of a problem with one component. It also adds packing steps and components, so it should be used where the customer experience justifies it—not automatically for every soup order.
Choose the Container as Part of a Matched System
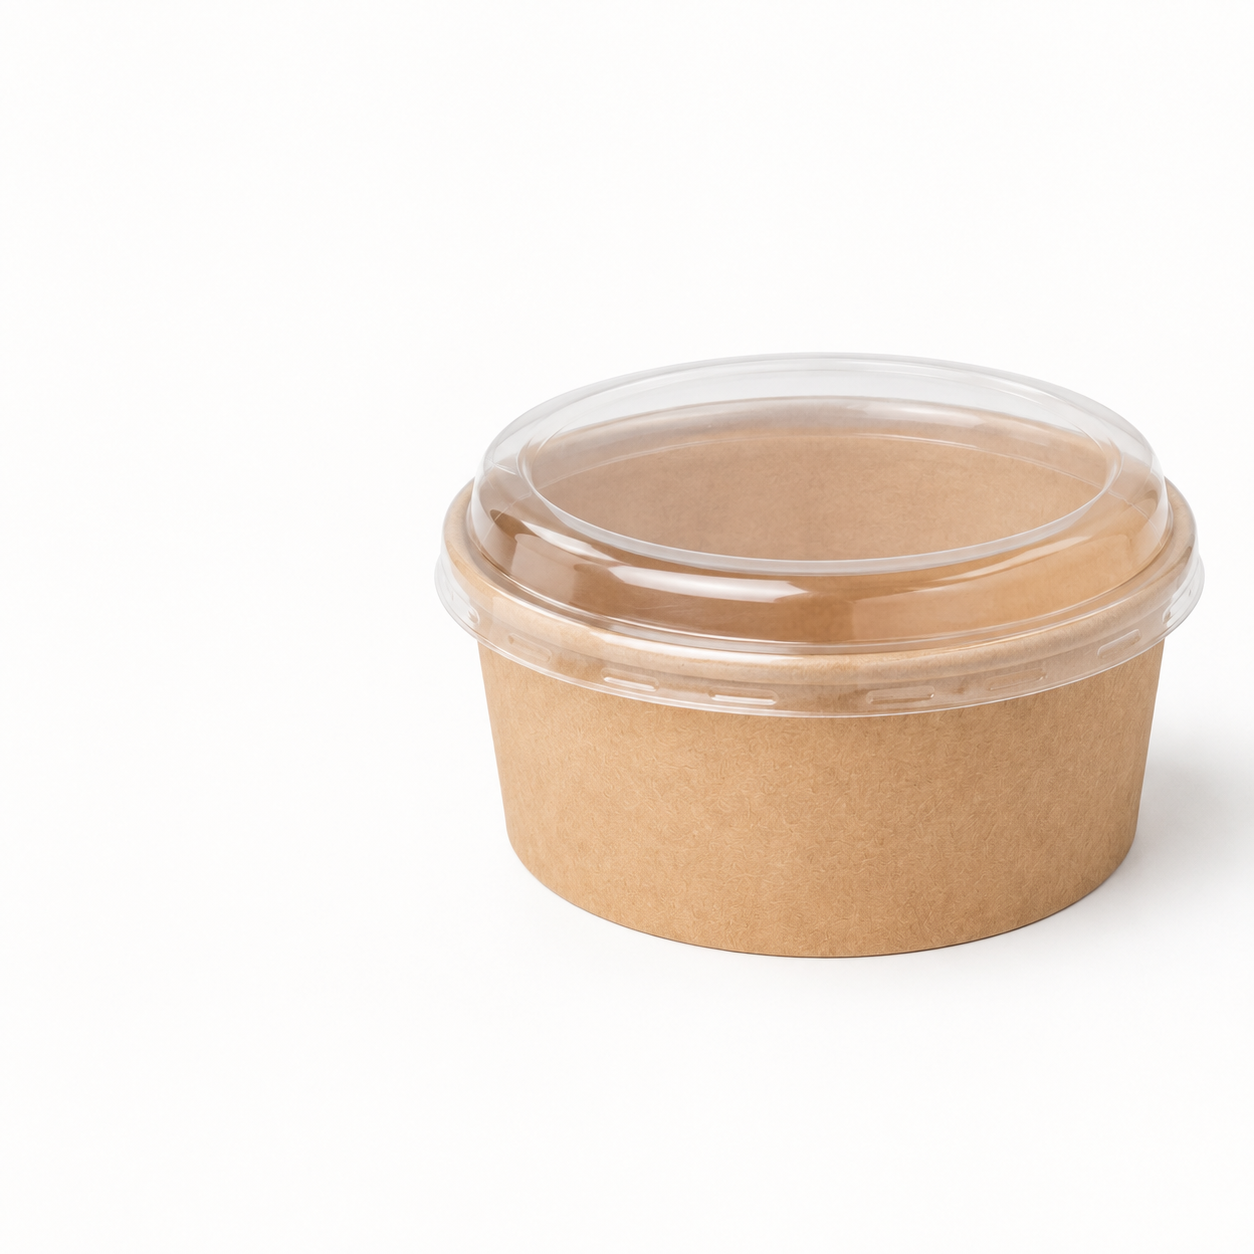
The container body has to support the serving format and the lid it was designed to receive. During procurement, assess the actual SKU pair rather than comparing bowls and lids as independent items.
What to check on the container
Ask practical questions while handling the proposed container:
- Does its shape fit the portion and allow room for normal movement during closure?
- Does the rim remain even and clean after the kitchen’s usual filling process?
- Does the base sit flat on the packing bench and in the chosen carrier?
- Does the body maintain a stable shape through normal handling of the prepared dish?
- Can staff identify the intended matching lid without guesswork?
The right answer will vary by menu and supplier. Avoid treating a material name, wall appearance, or a generic product description as proof that a particular SKU is suitable for your soup delivery conditions. Confirm the exact container, lid, and order configuration through your own test process.
Keep the SKU list manageable
A small, well-defined range is often easier to execute than many near-duplicate bowls. Where it fits the menu, choosing related sizes that use a clearly identified lid family can simplify storage, training, and replenishment. Do not force a shared lid across sizes unless the supplier identifies that pairing and your own testing confirms it works for the intended dish.
Specify the Lid and Closure Process
For liquid food, the lid is not an accessory selected at the last minute. It is part of the primary package.
Buy and store lids as matched pairs
Put the container SKU and lid SKU together on the purchasing list, shelf label, and packing station. A lid that appears to fit may not close consistently with a different rim profile. Mixing visually similar parts is a common avoidable source of failures.
At receiving, check that the delivered carton labels match the approved pair. At the packing station, keep alternative lids away from the soup line or label them distinctly.
Make closure visible and repeatable
Create one simple closing method for staff. For example: wipe the seating surface if needed, place the lid evenly, press around the full circumference, then visually inspect the edge before the order enters a bag. The exact movement depends on the container-and-lid design; use the procedure that your approved pair requires.
A closure check deserves a defined place in the rush workflow. When the queue is long, a rushed or partial closure can turn a sound procurement decision into a delivery complaint.
Use a Tamper Seal for Process Control, Not as a Spill Claim
A label, tape seal, band, or other visible closure device can help staff and customers see whether an order has been opened after packing. It may also encourage a final lid check before handoff.
However, a tamper seal is not automatically a liquid seal. Choose it according to its purpose: order identification, visible closure, or light restraint. Do not use a secondary seal to compensate for a container-and-lid combination that has not passed your own tests.
For selected high-risk orders, a small absorbent or protective insert may make cleanup easier if a minor issue occurs. Assess this separately from the primary package and avoid positioning it as proof that the order cannot leak.
Add a Secondary Containment Bag Only When the Risk Calls for It
A secondary containment bag can limit the spread of liquid if the primary package is compromised. It can be helpful for long routes, multiple liquid items, unusually full or heavy dishes, or orders that will be carried with other food.
It is not necessarily required for a short, single-bowl collection order. Adding it to every order can increase material use, packing time, and cost without proportionate benefit.
When you use one, set an operating rule:
- The container must still be fully closed and inspected first.
- Place the liquid item upright in the secondary bag.
- Do not use the bag as a reason to stack or tip the bowl.
- Keep wet or hot surfaces away from dry sides, paper items, and customer paperwork where possible.
The secondary bag is containment, not a substitute for primary-package selection or staff discipline.
Pack Upright and Separate Liquid From Pressure Points
The delivery bag is part of the system. A sealed bowl can still be put under stress if it is laid on its side, wedged beneath a heavy item, or allowed to slide freely.
Create an upright zone
Use a carrier, divider, insert, or bag layout that gives soup containers a stable upright position. The goal is to reduce rolling, sideways movement, and direct pressure on the lid. The solution can be simple: a correctly sized bag with a base that supports the bowl may be enough for a single order. Larger or mixed orders may need separation between liquid containers, drinks, and rigid side dishes.
Separate components strategically
Keep hot soup away from cold drinks where practical, and avoid placing sharp-edged or heavy packs against a lid. For noodle meals that are intentionally split into broth, noodles, and garnish, place each component so that the liquid container remains upright and the garnish does not become crushed.
Do not add dividers, double bags, or component packs by default. Establish when each measure is justified—for example, by route type, number of liquids, or order format—and train the team to use that rule consistently.
Build a Rush-Hour Soup Packing Workflow
High-volume periods expose inconsistent habits. A short, role-based routine is more dependable than asking every staff member to make a fresh judgment for each order.
Set up the station before the rush
Before peak service, stock only the approved container-and-lid combinations for the active menu. Keep bags, labels, tamper seals, and any dividers within reach. Display a one-page packing guide that shows the correct pair and the order in which items should be packed.
Use a five-step handoff routine
- Portion and inspect: Fill the dish using the restaurant’s established portion process; remove residue from the rim when needed.
- Close: Apply the approved matching lid using the full closure method.
- Check: Inspect the circumference, base, and outside of the container for visible residue or a misaligned lid.
- Protect and load: Add a secondary containment bag, divider, or separated components only when the order rule calls for them. Place liquids upright.
- Handoff: Mark the package as liquid if that helps the pickup team load it correctly, and keep it upright until collection.
Assign responsibility for the final check. In a small operation, it may be the person who bags the order. In a busier kitchen, a final expeditor can prevent a packed order from bypassing the check.
Record patterns rather than guessing
When a spill complaint occurs, record the dish, container SKU, lid SKU, route type, order mix, and where the issue appeared. Look for recurring patterns: a particular menu item, an incompatible lid, a certain bag layout, or a rush-period step that is frequently missed. This turns complaints into procurement and training data.
Test the Exact Setup Before a Bulk Purchase
A supplier sample, product image, or static bench check cannot reproduce every restaurant’s food and delivery conditions. Test the exact container-and-lid pair with your actual dish, normal packing process, and typical route handling before expanding an order.
A practical on-site test plan
Run a controlled set of trials that reflects the menu:
- Pack the soup or stew as the kitchen normally would.
- Close it with the intended lid and inspect the rim.
- Hold it for a realistic pre-handoff period.
- Keep it upright, then carefully observe it at different orientations that could occur during handling.
- Place it in the intended bag with the same side dishes, drinks, and dividers used in service.
- Simulate normal carrying, stops, and turns in a controlled way, then inspect the lid, rim, base, bag interior, and nearby items.
- Repeat with the dishes and order formats that create the most risk.
Document the outcome with photos and a simple pass/fail note based on your own operational standard. If a setup shows residue, distortion, unstable loading, or an unreliable closure, change one variable at a time—such as the matched lid, packing method, menu split, or carrier layout—and test again.
This is a restaurant validation process, not a performance claim about any supplier’s products. Repeat it when you change a recipe, portion presentation, container SKU, lid SKU, bag format, or delivery model.
Evaluate Cost Per Successful Delivery, Not Just Cost Per Unit
The least expensive bowl may not be the lowest-cost choice if it creates extra labor, rework, replacement orders, refunds, or damaged accompanying items. At the same time, adding premium layers to every order may consume margin where the risk is low.
Compare options using a simple total-cost view:
- Container and matching-lid cost.
- Secondary bag, divider, label, or tamper-seal cost when used.
- Packing time and training time.
- Carton count, storage space, and replenishment complexity.
- Waste from incorrect pairings or damaged stock.
- The operational cost of spill complaints and remakes.
Pilot two or three candidate systems with representative menu items. Track packaging consumption and incident notes during real service, then choose the setup that gives the most reliable result for each order type. A tiered policy can control cost: standard protection for routine orders, with additional containment or separation for the higher-risk scenarios you have identified.
Source Bowls, Containers, Lids, and Bags With Clear Requirements
When sending an inquiry, describe the use case instead of asking generally for a “soup-proof” product. State the dish category, expected portion format, need for a matched lid, and whether the order may require a secondary bag, upright carrier, or separated components. Ask to review the exact SKU pair before committing to a larger purchase.
TakeawayPack’s online catalog includes Bowls, Containers, Lids, and Bags. During an inquiry, you can discuss structure, capacity, lid matching, and carton packing for the order. These details should be confirmed for the specific product and purchase rather than assumed from a category listing.
For a tailored discussion, contact TakeawayPack and provide the product category, material, dimensions or capacity, expected quantity, printing, colour, or logo requirements, and destination. This gives the team the information needed to confirm the options that may suit your procurement request.